Have you ever thought about who sees your web history? If you’re using default DNS servers, chances are a third party has access to your browsing habits. By switching to a private DNS, you can take back control of your online privacy. Setting up a private DNS on a Raspberry Pi is simpler than you might think, and it can significantly enhance your internet security.
Table of Contents
- What is DNS?
- Why Use a Private DNS?
- How to Set Up a DNS on Raspberry Pi
- Understanding DNS Security
- Conclusion
- Frequently Asked Questions (FAQs)
What is DNS?
DNS, or Domain Name System, is like the phone book of the internet. Whenever you type a web address, DNS translates that name into an IP address that your computer can understand. It makes browsing the web easy, but it also means that you’re relying on public DNS servers, which may track your activity.
To understand how DNS works, consider this analogy: when you want to call a friend, you don’t memorize their phone number; instead, you look it up in your contacts. Similarly, your computer uses DNS to look up IP addresses. This system is essential for navigating the vast ocean of the internet, allowing users to access websites without needing to remember complex numerical IP addresses. However, this convenience comes with a trade-off—using public DNS servers can expose your browsing habits to various entities, including your internet service provider (ISP) and third-party advertisers.
Why Use a Private DNS?
Using a private DNS can provide stronger privacy and security. When you use public DNS servers, your browsing data is often logged and can be sold or shared with third parties. By switching to a private DNS, you keep your web history away from prying eyes.
Here are a few reasons to consider making the switch:
- Enhanced Privacy: Your browsing data remains private, reducing the risk of targeted ads and unwanted tracking. With a private DNS, you can enjoy a more personalized browsing experience without the baggage of invasive advertisements.
- Better Control: You can manage your own DNS settings, allowing for personalized filtering and security options. This means you can block access to specific websites or categories of content on your network, making it a great option for families or organizations wishing to enforce content restrictions.
- Improved Speed: A private DNS can offer faster resolution times compared to some public options. By caching frequently accessed DNS queries, your private DNS can improve loading times, resulting in a smoother browsing experience.
How to Set Up a DNS on Raspberry Pi
Setting up a private DNS on a Raspberry Pi is a great DIY project. Here’s how to get started:
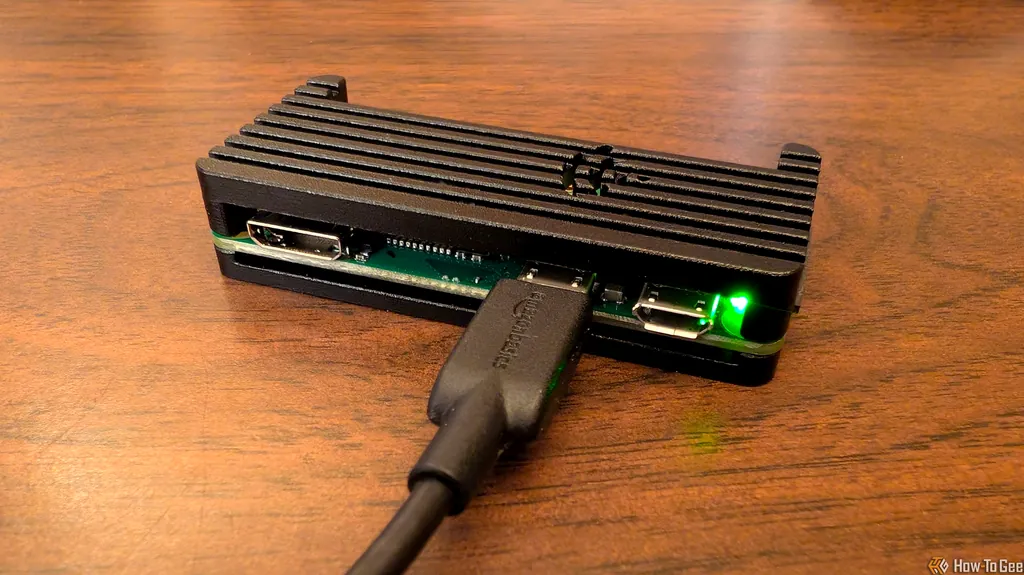
- Gather Your Materials: You’ll need a Raspberry Pi, a microSD card, and power supply. If you don’t have a Raspberry Pi, you can find affordable options online. You might also want to have a keyboard and monitor available for the initial setup, though remote access is possible once configured.
- Install the Operating System: Download and install Raspberry Pi OS on the microSD card. You can use the Raspberry Pi Imager for a hassle-free installation. This step is crucial as the OS will manage all your DNS functions.
- Set Up DNS Software: Install software like Pi-hole or dnsmasq to manage your DNS requests. Pi-hole is particularly popular for its ad-blocking capabilities. It acts as a network-wide ad blocker, preventing unwanted ads from appearing on any device connected to your network.
- Configure Your Router: Change your router’s DNS settings to point to your Raspberry Pi’s IP address. This ensures all devices on your network use your private DNS. You may have to consult your router’s manual to find the exact steps for accessing the settings.
- Test Your Setup: Use tools like WhatsMyDNS to verify that your DNS queries are being handled by your Raspberry Pi. It’s important to ensure that everything is functioning correctly to benefit fully from your new DNS setup.
For a detailed guide, check out the article on how to set up a DNS on Raspberry Pi. This resource includes screenshots and additional tips to help you troubleshoot any issues that might arise during the installation process.
Understanding DNS Security
DNS security is crucial for maintaining your privacy online. Using a private DNS helps protect against DNS spoofing and phishing attacks, where malicious actors try to redirect you to fake websites. By having control over your DNS server, you can implement security measures like filtering out harmful sites and monitoring DNS requests. This not only enhances your security but also fosters a safer browsing environment for everyone in your household.
Additionally, consider enabling DNS over HTTPS (DoH) or DNS over TLS (DoT) for an extra layer of encryption. This ensures that your DNS queries are not visible to your Internet Service Provider (ISP) or anyone else snooping in on your network. With these protocols, your DNS queries are encrypted, making it significantly harder for anyone to intercept or manipulate your requests.
Moreover, it’s worth noting that while a private DNS provides a robust layer of security, it should be part of a broader approach to internet security that includes using a VPN, keeping your devices updated, and practicing safe browsing habits.
Conclusion
Switching to a private DNS on a Raspberry Pi is a practical step toward safeguarding your online privacy. Not only does it help you take control of your web history, but it also enhances your overall internet security. With a bit of effort, you can set up a system that keeps your browsing habits private and secure. In an age where data privacy is paramount, investing time in setting up your own DNS server can yield significant benefits, allowing you to browse the internet with peace of mind.
Frequently Asked Questions (FAQs)
What is the benefit of using a private DNS?
A private DNS enhances your privacy by keeping your browsing history away from third parties and allows you to control your DNS settings. This can result in a more personalized and faster browsing experience.
Can I set up a DNS on Raspberry Pi without technical skills?
Yes! There are plenty of guides available that provide step-by-step instructions, making it accessible even for beginners. Many Raspberry Pi enthusiasts share their experiences, and forums are filled with helpful tips and troubleshooting advice.
What’s the difference between public and private DNS?
Public DNS servers are managed by third parties that may log your browsing data, while private DNS servers allow you to keep that data private. In essence, public DNS can compromise your privacy, while a private DNS empowers you to control your online footprint.
Is a private DNS setup expensive?
No, setting up a private DNS on a Raspberry Pi is quite affordable, especially since the hardware can be purchased for around $20. The software options available are often free, making it a cost-effective solution for enhancing your online security.
How does private DNS improve internet speed?
A private DNS can improve speed by reducing latency and increasing the efficiency of DNS resolution, especially if you configure it correctly. By caching previously resolved queries, your Raspberry Pi can deliver faster responses for frequently visited sites, resulting in a quicker browsing experience.